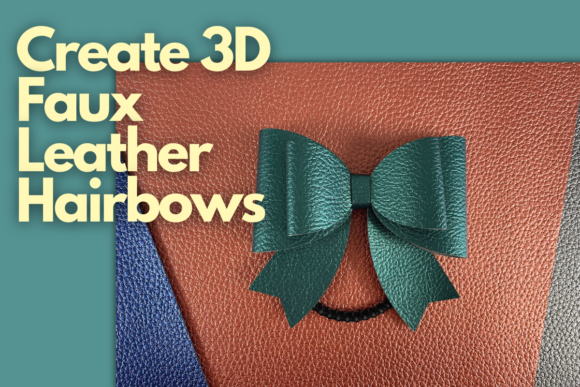
Create a 3D Faux Leather Hairbow
If you have ever stared at a spool of material and wondered how to transform it into something wearable and stylish, you are not alone. Crafting has evolved far beyond simple paper crafts, moving into the realm of textured, durable, and high-fashion accessories. One of the most exciting trends in modern DIY is creating Create a 3D Faux Leather Hairbow projects. This specific craft combines the sleek, modern look of faux leather with the playful structure of a three-dimensional bow, resulting in an accessory that looks professional enough for boutique shelves but achievable for beginners.
The appeal lies in the versatility of the materials and the precision of modern cutting tools. Unlike fabric, which can fray or lose its shape, faux leather holds its form beautifully. When paired with a digital cutting machine like the Cricut, you gain the ability to create intricate shapes that would be incredibly difficult to cut by hand. This process is not just about making a hair accessory; it is about learning a new skill set that bridges creativity with technology.
Why Choose Faux Leather for Your Crafts?
Faux leather, often referred to as pleather or synthetic leather, has become a staple in the crafting community for several practical reasons. First, it is cruelty-free and generally more affordable than genuine leather. Second, it is significantly easier to work with for beginners because it does not require the same level of finishing care as real hide. It does not need conditioning, and spills can be wiped away easily.
From a design perspective, faux leather offers a unique aesthetic. It comes in a vast array of colors, from classic black and nude to vibrant pastels and metallics. The material has a slight stiffness that allows it to maintain volume, which is crucial when building a 3D bow. A flat fabric bow might look cute, but a faux leather one pops off the page (or head) with structural integrity. This makes it an excellent choice for those looking to add a touch of edgy elegance to their wardrobe or gift items to friends and family.
Mastering the Cut: Working with Alex Vanover’s Techniques
The secret to a successful faux leather project is not just the material, but the settings on your cutting machine. Many crafters struggle with faux leather because it can gum up blades or tear if the pressure is too high. In the comprehensive guide led by expert instructor Alex Vanover, you will learn exactly how to navigate these challenges. Alex walks you step-by-step through the process of finding the perfect cut setting on your Cricut machine specifically for faux leather.
This attention to detail is what separates a amateur attempt from a polished product. If the blade is too dull or the speed is too fast, you may end up with jagged edges or incomplete cuts. By following Alex’s instructions, you will learn to adjust the mat type, blade depth, and pass count to ensure clean lines every time. This knowledge is transferable; once you master the settings for faux leather, you can apply similar logic to other thick or sticky materials like cardstock, vinyl, or felt.
The Step-by-Step Assembly Process
Cutting the pieces is only half the battle. The true magic happens during assembly. A 3D hair bow requires precise layering to achieve that voluminous, looped look. Here is a general overview of what you will accomplish:
- Template Selection: You will start by choosing a template that suits your style. Whether you prefer a classic double-loop or a more complex multi-layered design, the right template simplifies the math and geometry involved.
- Precision Cutting: Using the optimized settings learned from Alex, you will feed your faux leather through the Cricut. The machine handles the tedious work of tracing curves, ensuring symmetry that is hard to replicate manually.
- Shaping and Folding: Once cut, the pieces need to be shaped. This often involves using heat (like a hair dryer or iron on low) to soften the leather slightly so it can be folded into loops without cracking.
- Assembly: The final stage involves gluing or stitching the layers together around a central core, attaching the alligator clip or headband base, and adding any decorative elements like rhinestones or center knots.
By the end of this process, you will have a ready-to-wear faux leather hair bow that feels substantial and looks expensive. The satisfaction of wearing something you made yourself is unmatched, especially when you know the technical skills behind its creation.
Expanding Your Creative Horizons
One of the best aspects of this craft is that it is just the beginning. There are so many styles of faux leather hair bows that you can make with your Cricut machine. The creativity is endless. You can experiment with different textures, such as quilted faux leather or velvet-lined options. You can vary the size from tiny mini-bows for toddlers to oversized statement pieces for adults.
In the second session of this class, you can find hair bows templates to download. These additional resources allow you to branch out into new designs without starting from scratch. This is particularly valuable for small business owners or entrepreneurs who want to produce consistent inventory. Having a library of tested templates means you can quickly switch between styles based on current fashion trends or seasonal demands, such as floral prints for spring or dark tones for autumn.
Practical Applications and Considerations
While the primary goal is to create a beautiful accessory, there are practical considerations to keep in mind. Before diving in, consider the end use of your bows. Are they for everyday wear? If so, durability is key. Faux leather excels here, resisting wear and tear better than delicate silks or satins. However, always test your glue compatibility. Some adhesives can dissolve certain types of synthetic materials, so doing a small spot test is wise.
For educators and hobbyists, this project serves as an excellent introduction to digital fabrication. It teaches patience, precision, and problem-solving. For bloggers and marketers, it provides content-rich opportunities. Documenting your journey from raw material to finished product creates engaging social media content that resonates with audiences interested in sustainable, handmade goods.
Ultimately, learning to Create a 3D Faux Leather Hairbow is about empowering yourself with a skill that blends art and engineering. It removes the intimidation factor of working with "tough" materials by providing clear, guided instructions. Whether you are looking to start a side hustle selling accessories at local markets or simply want a fun weekend project that results in a tangible, useful item, this course offers a structured path to success. With the right tools, the right guidance from experts like Alex Vanover, and a willingness to learn, you can unlock a world of creative possibilities that go far beyond simple hair accessories.