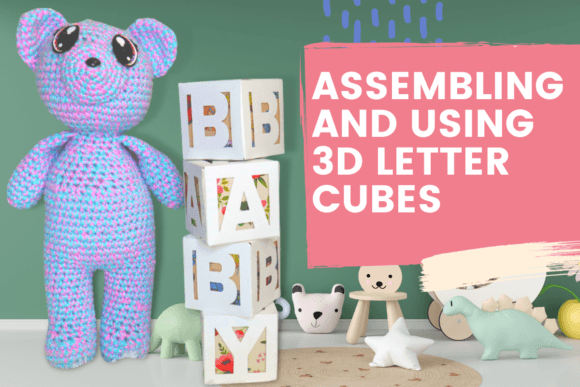
Assembling and Using 3D Letter Cubes
In the world of paper crafting and DIY design, few projects offer as much visual impact for so little effort as 3D letter cubes. These geometric structures transform simple flat sheets into dimensional objects that stand tall, cast interesting shadows, and add a tactile quality to any display. Whether you are looking to create custom nursery decor, personalized gifts, or eye-catching signage for a small business, mastering this technique opens up a vast array of creative possibilities.
This guide explores the art of Assembling and Using 3D Letter Cubes, focusing on practical application, design versatility, and the step-by-step process led by expert instructor Corinne Blackstone. By understanding how these cubes function and where they shine, you can elevate your crafting projects from simple flat cutouts to professional-grade installations.
The Versatility of 3D Letter Cubes
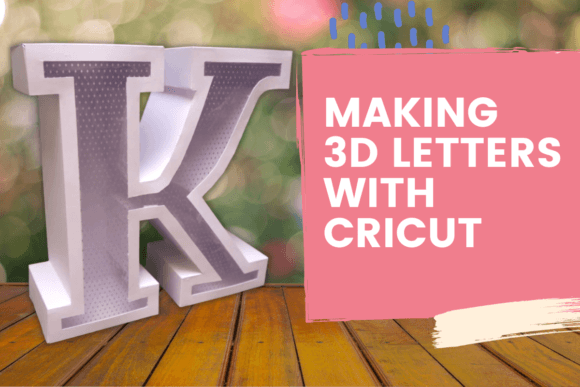
At their core, 3D letter cubes are architectural marvels made of cardstock or vinyl. They are not merely letters; they are structural components that rely on precise scoring, cutting, and folding to maintain their shape. The beauty of this medium lies in its diversity. Unlike traditional wall decals that lie flat against a surface, 3D cubes project outward, creating depth and texture that catches the light differently throughout the day.
These cubes can be crafted from a wide range of materials, including:
- Paper Cardstock: Ideal for indoor decor, party favors, and lightweight displays.
- Vinyl: Perfect for outdoor signs, window clings, and durable merchandise.
- Foam Board: Offers a sturdier option for larger installations or heavy-duty use.
The primary advantage of using digital designs is consistency. When you download pre-made templates, every letter is proportioned correctly, ensuring that words like "LOVE" or "HOME" look balanced and symmetrical. This uniformity is difficult to achieve when hand-drawing or assembling random shapes, making digital templates an essential tool for both hobbyists and professionals.
Why Choose Corinne Blackstone’s Class?
While the concept of building a cube seems straightforward, the execution requires precision. A single misaligned fold or incorrect glue placement can cause the structure to warp or collapse. This is where structured guidance becomes invaluable. In her class, Corinne Blackstone demystifies the entire process, taking students from the initial digital file to the final physical product.
Corinne’s approach is rooted in clarity and efficiency. She understands that many crafters struggle with the technical aspects of software integration. Her curriculum specifically addresses:
- Downloading Designs: Understanding file formats (such as SVG) and where to source high-quality, ready-to-cut templates.
- Cricut Design Space Setup: Learning how to import files, resize them accurately, and prepare layers for cutting without errors.
- Assembly Techniques: Mastering the art of scoring, folding, and gluing to ensure clean lines and sturdy construction.
By following her step-by-step instructions, you avoid the common pitfalls that lead to frustration, such as wasted material or warped letters. The class is designed to build confidence, allowing you to tackle more complex words and larger projects as your skills grow.
Step-by-Step: From Digital to Physical
To truly appreciate the value of Assembling and Using 3D Letter Cubes, it helps to break down the workflow. Here is a general overview of the process, highlighting the key decisions you will make along the way.
1. Selecting and Preparing Your Design
Start by choosing a word or phrase that fits your project’s theme. Whether it’s a monogram for a wedding invitation or a brand name for a shop sign, the choice of font matters. Bold, blocky fonts tend to work best for 3D structures because they provide ample surface area for assembly. Once selected, download the design file and open it in Cricut Design Space.
Pro Tip: Always check the "weld" or "flatten" settings if you are combining multiple letters into a single cut layer. This ensures that the machine reads the design as one cohesive unit rather than separate pieces, which can save time during the cutting phase.
2. Cutting and Scoring
With your mat loaded and settings adjusted for your chosen material, begin the cut. For paper-based projects, scoring is critical. Many digital designs include score lines—thin lines that indicate where the paper should be folded. If your design does not include these, you may need to add them manually in the software or use a scoring board after cutting. Proper scoring prevents cracking and ensures sharp, crisp edges.
3. The Assembly Process
This is where the magic happens. Carefully remove the cut pieces from the mat. Begin by folding along all score lines. Use a bone folder or a blunt tool to crease the folds firmly; this makes gluing much easier. Start with the base of the cube, applying adhesive to the tabs and pressing the sides together. Hold each joint for a few seconds to allow the glue to set.
When Assembling and Using 3D Letter Cubes, patience is your greatest asset. Rushing the drying time can result in misshapen letters. Work in a clean, well-lit area to ensure you can see the alignment clearly. It is also helpful to keep a stack of books or heavy objects nearby to weigh down parts of the cube while other sections dry.
Real-World Applications and Ideas
Once you have mastered the basics, the applications are nearly limitless. Here are some inspiring ways to incorporate 3D letter cubes into your life and business:
Home Decor and Nursery Themes
Customizable decor is huge right now. Imagine a nursery wall featuring the child’s name spelled out in pastel-colored 3D cubes. These can be mounted directly to the wall using command strips or placed on a shelf as standalone sculptures. You can change the colors seasonally or as the child grows, keeping the room fresh and updated.
Event Signage and Favors
For weddings, birthdays, or baby showers, 3D cubes serve as excellent table numbers or welcome signs. They add a touch of elegance that flat cards cannot match. Additionally, small versions of these cubes can be packaged as party favors, giving guests a tangible keepsake of the celebration.
Small Business Branding
Entrepreneurs can use large-scale 3D cubes for storefront windows, pop-up shops, or social media content creation. A bold, three-dimensional logo stands out in photographs and videos, helping brands capture attention in a crowded digital landscape. Because these cubes are reusable, they offer a cost-effective marketing tool compared to printed banners that wear out quickly.
Evaluating Suitability for Your Needs
Before diving into a project, consider whether 3D letter cubes are the right fit. They excel in scenarios where:
- Visual Depth is Desired: If you want to move beyond flat graphics, cubes provide immediate dimension.
- Customization is Key: They allow for easy changes in color, size, and font to match specific branding or themes.
- Durability is Not Critical: While sturdy, paper cubes are not weatherproof unless sealed properly. Avoid using them in high-moisture areas without appropriate coatings.
Conversely, if you need a permanent outdoor installation exposed to rain and sun, you might opt for wood or metal instead. However, for indoor events, home decor, and short-term promotions, 3D letter cubes offer an unbeatable combination of aesthetics and ease of production.
Conclusion
Assembling and Using 3D Letter Cubes is more than just a crafting technique; it is a skill that enhances your ability to communicate visually. With the guidance of experts like Corinne Blackstone, you can navigate the technical challenges of digital design and physical assembly with confidence. The result is a versatile, high-impact product that serves both personal and professional needs.
Whether you are a seasoned crafter looking to expand your repertoire or a beginner eager to create something unique, this project offers a rewarding blend of creativity and technical satisfaction. Start with a simple word, follow the steps carefully, and watch as your ideas take shape in three dimensions. The potential for decorating, gifting, and branding with these cubes is only limited by your imagination.